Underwater Photography - Moving from Beginner to Intermediate Setups
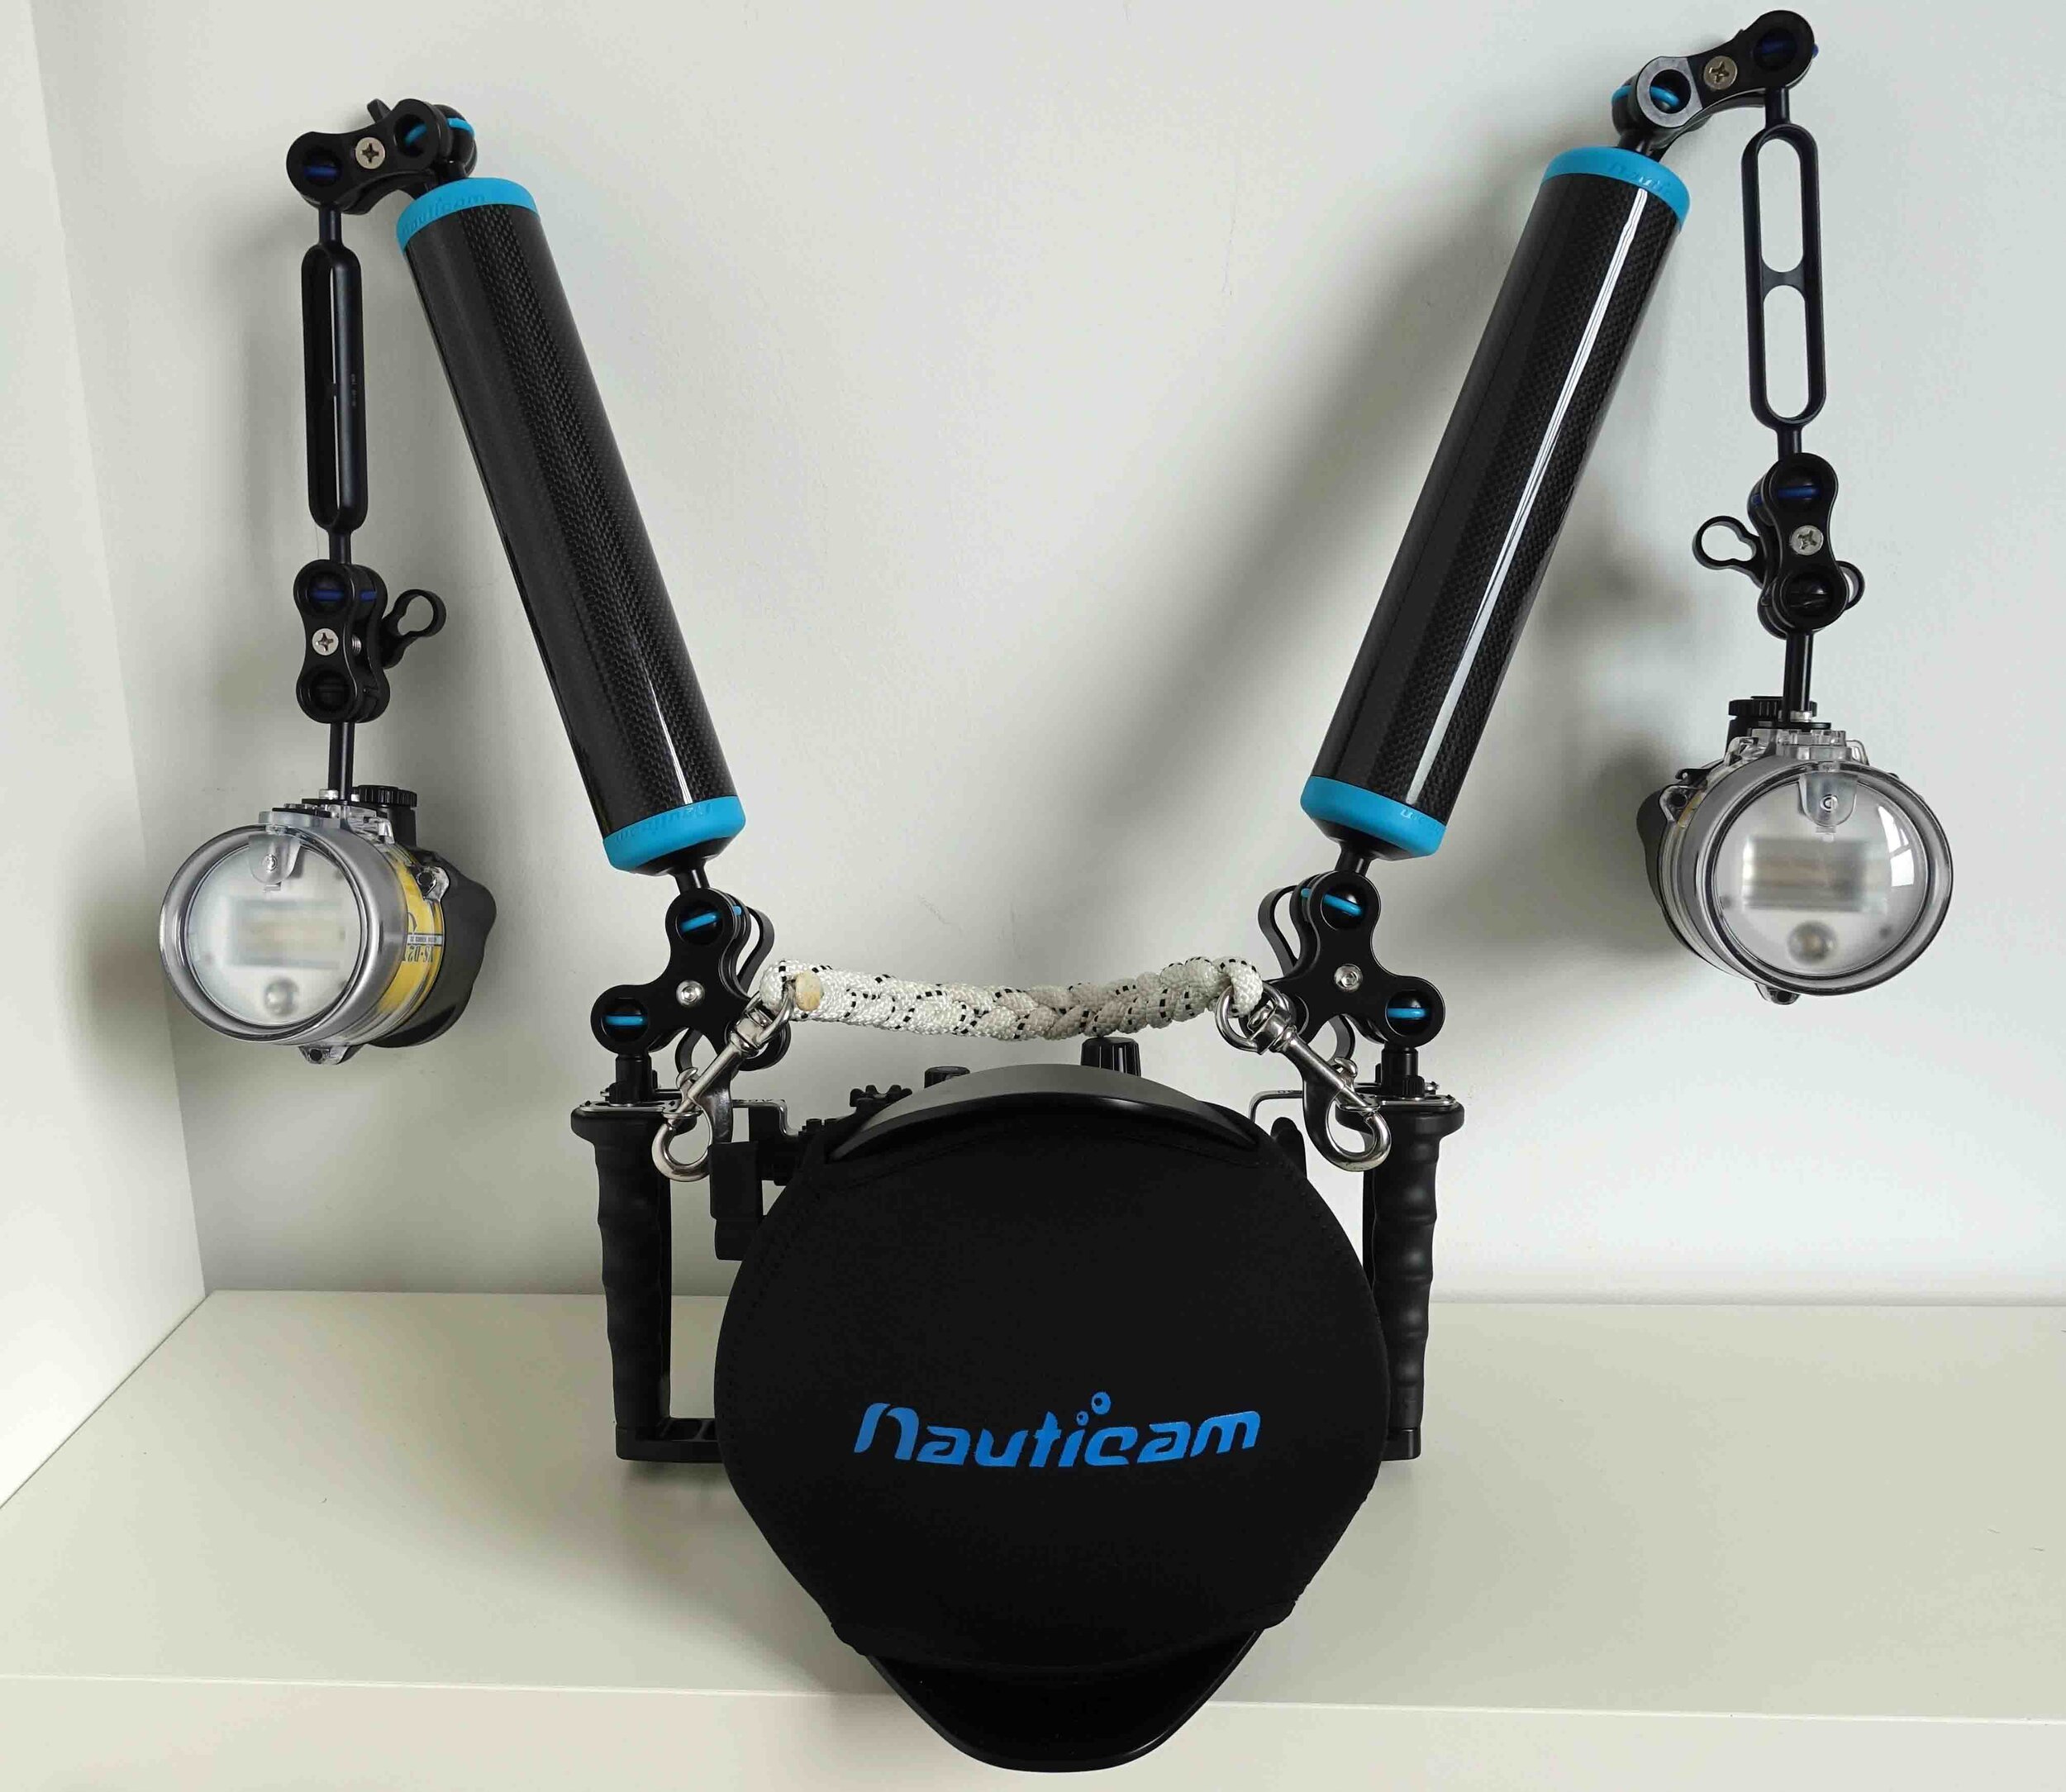
Sony a6400, Nauticam housing, Sea & Sea YS-D2J strobes set up for wide angle photography
Around this time last year I took a look at getting started in underwater photography and what you may want to consider when putting together a beginners underwater photography set up based upon my own experience. I looked at a compact camera set up and the additional equipment and accessories you would need to add to help you get started on your journey. After writing that blog post I was fortunate enough to take a trip out to Sipadan in Malaysia and although I was generally pleased with how my set up worked with the wonderful array of macro subjects in and around Mabul, I would be lying if I said I was entirely happy with my wide angle efforts at Sipadan Island itself. I was lucky to witness the famous barracuda tornado and although I was able to get a few good pictures that didn’t have the “wow” factor I had been hoping for and honestly, this frustrated me and niggled away inside for quite a while. So, late last year I took the decision that as I already had a Sony a6400 mirrorless system I would invest in an underwater housing for it so I could improve my photography. It wasn’t the cheapest decision I have ever made and though diving opportunities have been very limited since then I have generally been quite pleased with the results I have achieved with my new set up. In light of this, I thought that now would be a good time to write another blog on intermediate set ups and what you need to consider.
Mirrorless vs DSLR

A Sony a6400
Once you decide to make the move from a compact set up the next decision you will have to make is not necessarily about mirrorless vs DSLR. The main difference between these two system is that the mirrorless cameras, as the name suggests, do not have a mirror in them that allows you to see the actual image through the view finder. The benefit of a mirrorless system is that it is a lot more compact and lightweight than the DSLR (Digital Single Lens Reflex) due to the lack of mirror and pentaprism, however, on the reverse side the battery life of a DSLR is often far superior to a mirrorless camera as it doesn’t have to rely on a digital viewfinder which sucks up lots of battery juice. While, it may seem logical that the decision would be between these two types of camera, due to advances in technology there is very little difference between the two in terms of the type of image that they can take, the main differentiator these days will be the size of the sensor. The choice here will be between what is commonly referred to as a full frame sensor (equivalent to old 35mm film) or one of the systems with a smaller APS-C (cropped) or micro four thirds. The larger the sensor (not necessarily more mega pixels) the better the image quality as it will be more sensitive to the light and vernally have a higher dynamic range which can be very useful in underwater photography. However, full frame cameras, whether mirrorless or DSLR, are much more expensive than their APS-C cousins and even if using a mirrorless version much bigger. This is the reason I had decided to go with the Sony a6400 - it take great images above the water and also has a fantastic range of lenses available to give you flexibility when shooting wide angle or macro. Whilst I know I am sacrificing performance in terms of image quality I do gain by having a system that is smaller and lighter (essential for travel, especially by air) and cheaper housings. By going with a known brand such as Sony I also give myself flexibility in terms of lenses in the future if I do decide to upgrade as the lenses are generally cross compatible between the cropped and full frame versions. For example, my 90mm marco lens is actually a full frame lens and therefore I would not lose any performance if I used it on a full frame camera, some lenses are cropped versions and would need to be changed out, but not having to change out all my lenses does give me some comfort.

A selection of lenses for the Sony a6400
Lenes
One of the advantages of the compact system is that you dont have to carry a myriad of lenses for different situations and can adapt the system by the addition of wet lenses or diopters for macro or wide angle. However, this doesn’t offer you quite the same range and flexibility as different lenses do, for instance with my mirrors system I have several different lenses I can use underwater for an array of situations, it just means that I need to do a little bit more research before heading out on a dive trip but if you are a dive geek like me you’ll probably do this anyway and have a pretty good idea of what you want t shoot which makes this a little easier.
Unfortunately, due to the way housings are manufactured you probably won’t be able to use a zoom lens that would cover a variety of scenarios on land and therefore will need dedicated options for macro and wide angle. I have four lenses that I can use with my housing underwater:
Sony 90mm F2.8 macro lens
A fantastic lens for macro subjects and is actually a full frame lens, with my APS-C camera the focal length is actually closer to 135mm which is perfect for taking photos of nudibranchs and a whole host of other small, colourful creatures. Add in a wet lens and this is a set up capable of super macro and greater than 1:1 magnification with added optical stabilisation as well. My go to lens for shooting macro now!
Sony 50mm F2.8 macro lens
Another macro lens, but with a shorter focal length this time, a good option in case you think you may end up seeing some slightly larger creatures as well. Can be paired with a wet lens as well for greater macro capability as well. the only downside is that it doesn’t have any optical stabilisation.
Sony 10 - 18mm F4 wide angle zoom lens
My standard, go to wide angle lens - the great thing about this lens is the ability to “zoom” in. It gives you that added bit of flexibility when shooting wide angle. It has inbuilt optical stabilisation and is fantastic for above water landscapes swell.
Sony 16mm F2.8mm wide angle lens with fisheye adaptor
This is a great lightweight lens with adapter for this ultra wide angle, fish eye scenarios. The great thing about this lens is that it is super light and super compact meaning I can always take it with me and not worry about taking up too much space.
The only downside to having multiple lenses is having to have multiple lens domes/ports which are not only expensive but take up valuable luggage space and weight. As I said before, its all about understanding what you want to photograph on each dive trip. The good thing is that it forces you to think about your photography in a bit more detail and thus concentrate a bit more - with a compact camera you tend to think you can just shoot anything and are then tempted not to prepare fully.
Housings
This is where things can start to get really expensive, with a compact beginners set up you only have to purchase one housings and can then add on wet lenses to focus on macro or wide angle making it very travel friendly and cheaper. However, as soon as you get into the realm of interchangeable lenses then the cost shoots up dramatically, so be prepared! The basic housing will set you back a fair bit and then you’ll need to add on different ports and domes according to your lens and subject. for example, each of the lenses i have listed above requires a different dome or port, and some even require adapters. Costs escalate quite a bit some you may want to init yourself to a couple of lenses only, this way it is also easier to travel to and from your destination via air and not worry about baggage allowances so much! Another consideration will be whether or not to go for glass or acrylic dome for wide angles lenses. Glass domes are more robust and perform better underwater (the extra weight of glass compensates for the increased buoyancy due to their volume) however acrylic domes are cheaper and lighter which make them easier to travel with. at the end fo the day it comes down to personal preference and budget - for example I have acrylic dome ports for my wide angle lenses which was a decision made purely on cost.
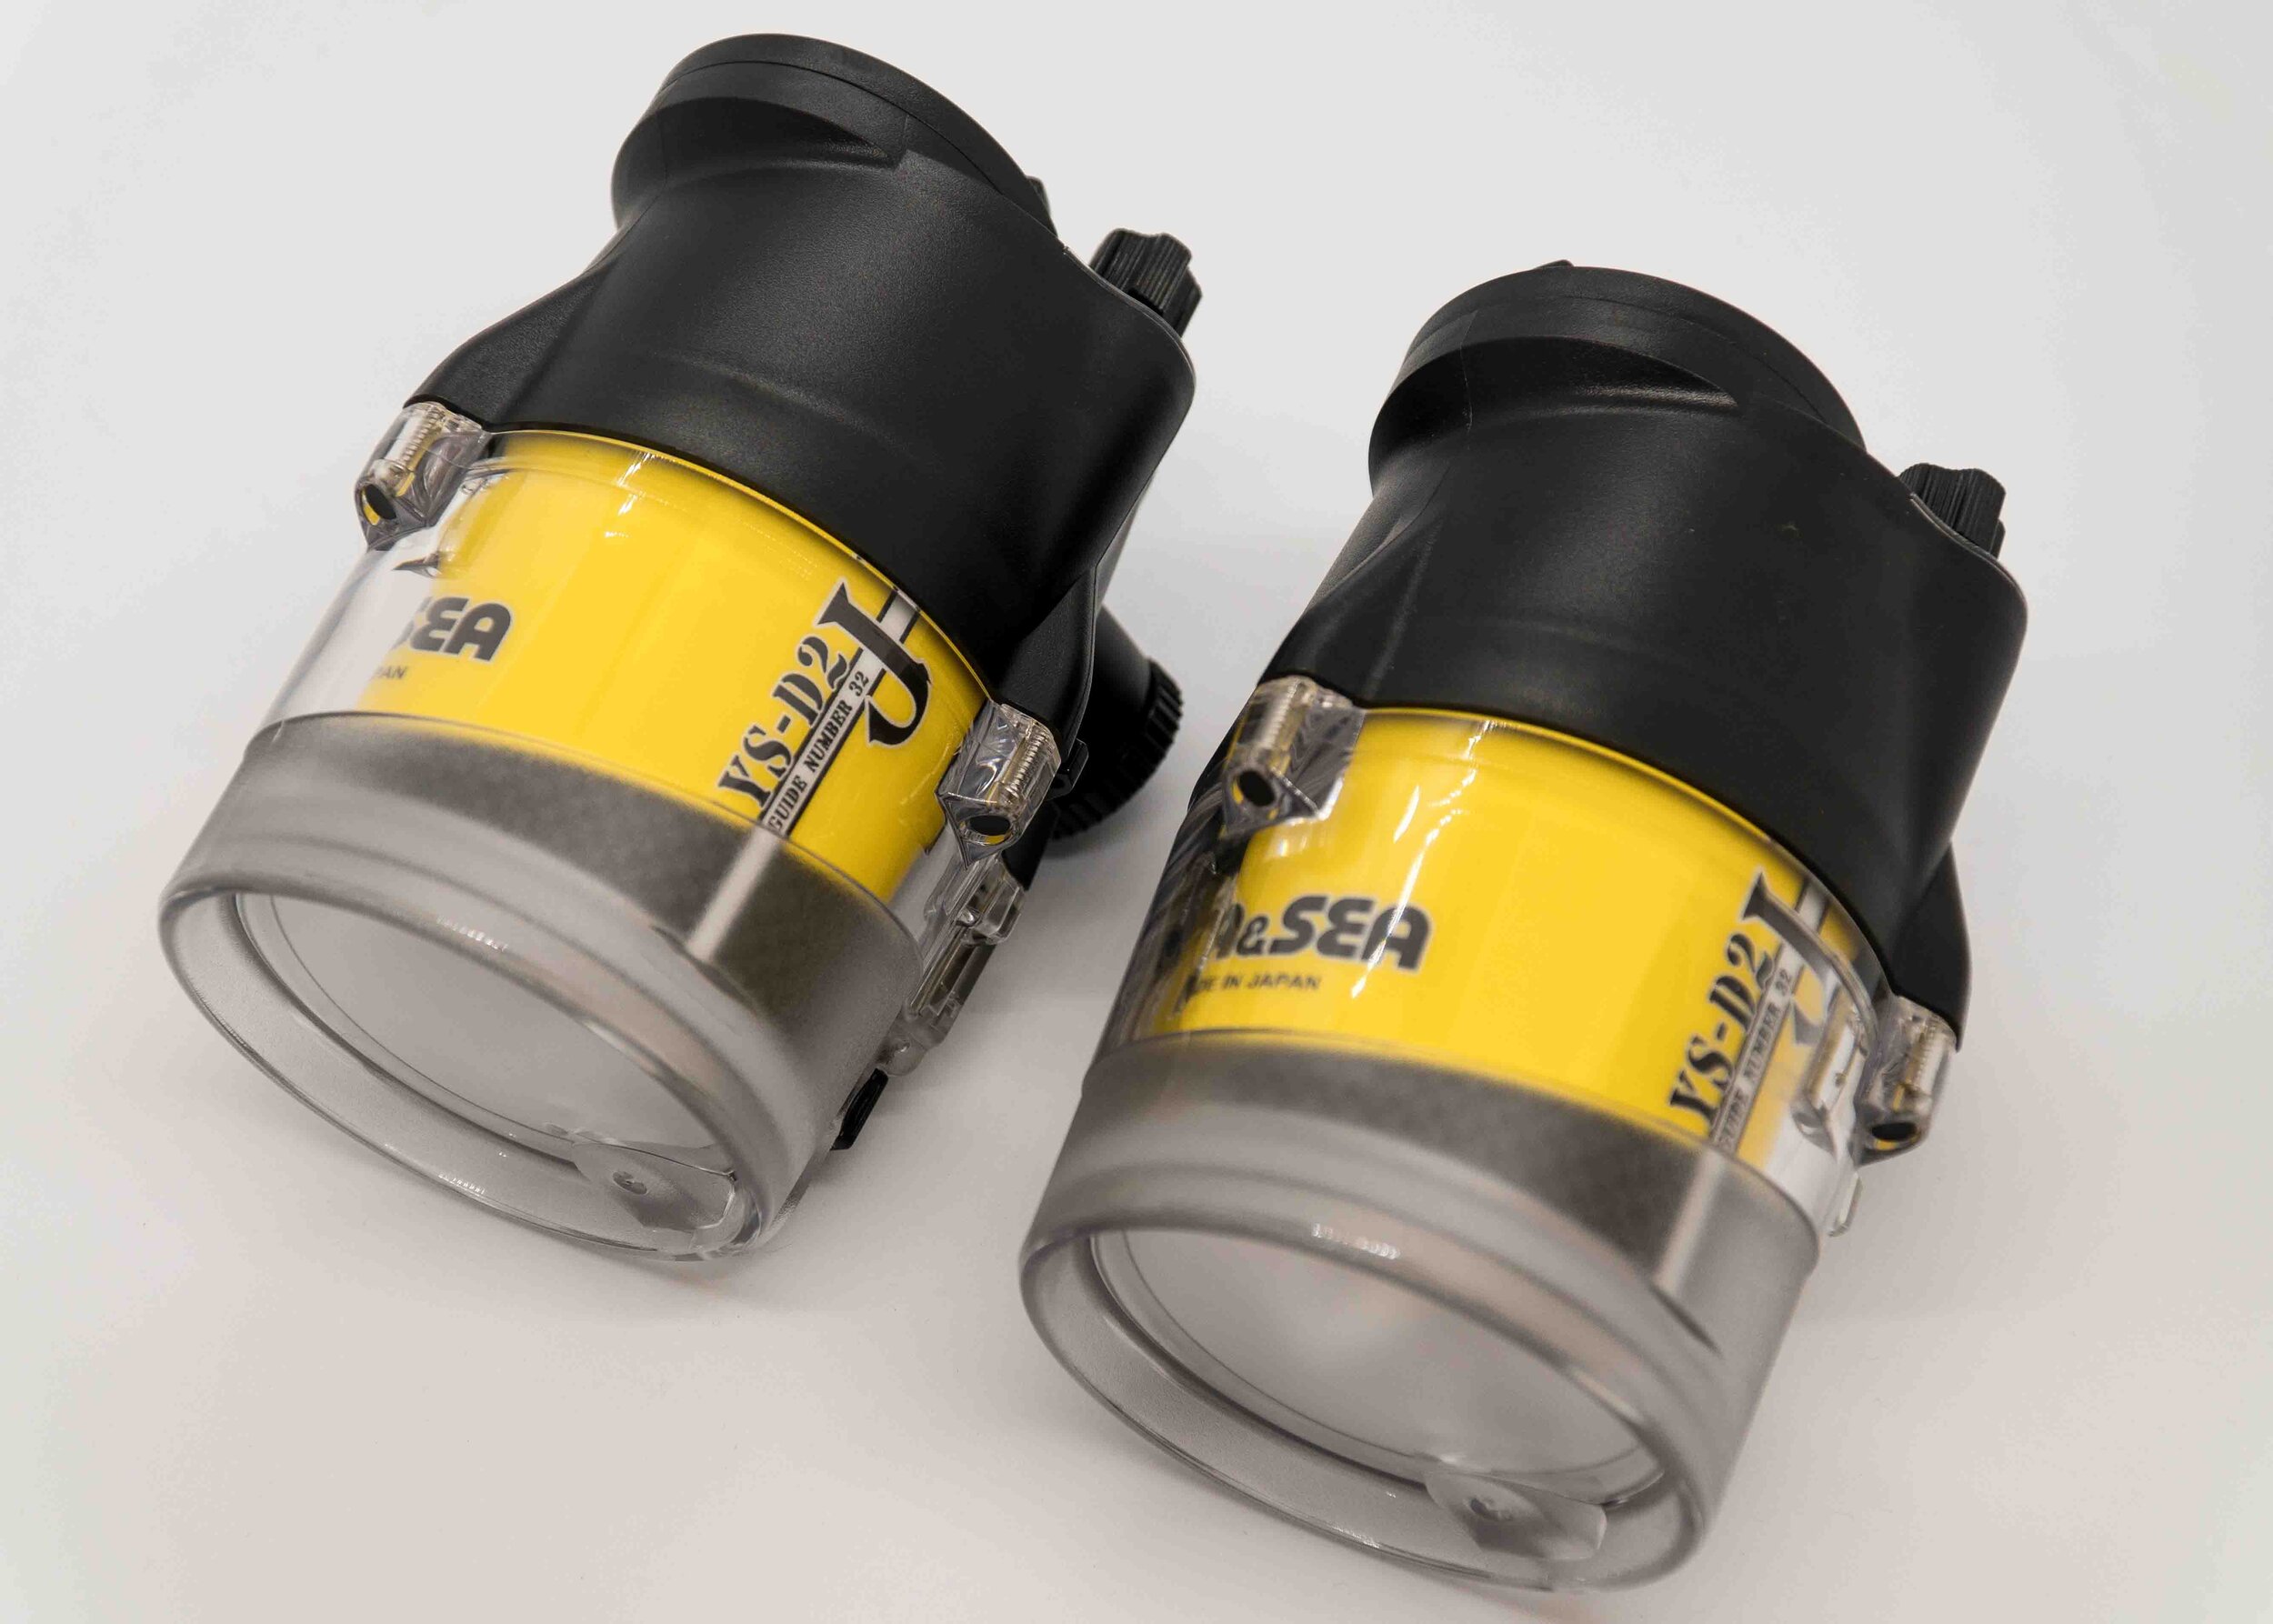
A pair of Sea & Sea YS-D2J strobes a great option for adding vibrant colours to your photos
Lighting
If you’re going to make an investment in an underwater camera set top, especially with an interchangeable lens camera, housing and dome ports then you really should make sure you get some decent lighting. You dodn’t want to spend all that money and find that you’re pictures all turn out to be 50 shades of blue! There are two main options when it comes to lighting - constant light and flash light. Constant lights, often called video lights are high power, wide beam lights designed for use primarily with video system. They can deliver a bright beam that add colour even to still photography. Strobes, or flashes are more like the traditional flash that you will be used to using above water - they fire off very high intensity light in a short burst that illuminate your picture and add those vibrant colours we all love to see. Strobes are your best option for underwater still photography but are more expensive than video lights. This doesn’t mean to say that video lights can’t do a good job, just that for the best results strobes are the way to go.
Accessories
As with all other forms of photography, you’ll need a few accessories to ensure you are ready to teke some stunning photos. Whilst you don’t need a go mad and kit yourself out with the latest and greatest of everything a few strategic purchases will ensure you are ready to capture that perfect shot. The first one I would recommend is a vacuum monitor for your housing, these help to monitor for leaks and give early warning of any failure of seals - well worth the investment, especially when you consider how much money you will have spent on your rig. I have one on mine and it really does give me peace of mind while diving - just one less thing to worry about.
I briefly mentioned around wet lenses, or diopters earlier - these are lenses that you attach to the outside of your housing to help focus on really small creatures that otherwise you would not be able to capture. I have two Nauticam lenses for this which provide excellent results - the SMC-1 and the CMC-1 (for use with my 50mm macro lens) - as with most Nauticam products they aren’t cheap but give spectacular results. There are other brands out there that cost significantly less and are a good purchase as well.
The last accessory I would recommend is a snoot of some sort, these are essentially tapered covers you put on front of a strobe or torch to direct the light into a narrow beam thus allowing you to direct it to create dramatic lighting especially for macro subjects.
There are endless other gadgets and accessories you could buy, most won’t really add much to your end product but will put another significant dent in your bank balance. We hope you find this blog post useful, if so please leave us a comment below, we’d love to hear what gear you’re using and any tips you may have!