📸 Best Underwater Macro Photography Setup (2026 Guide for Scuba Divers)
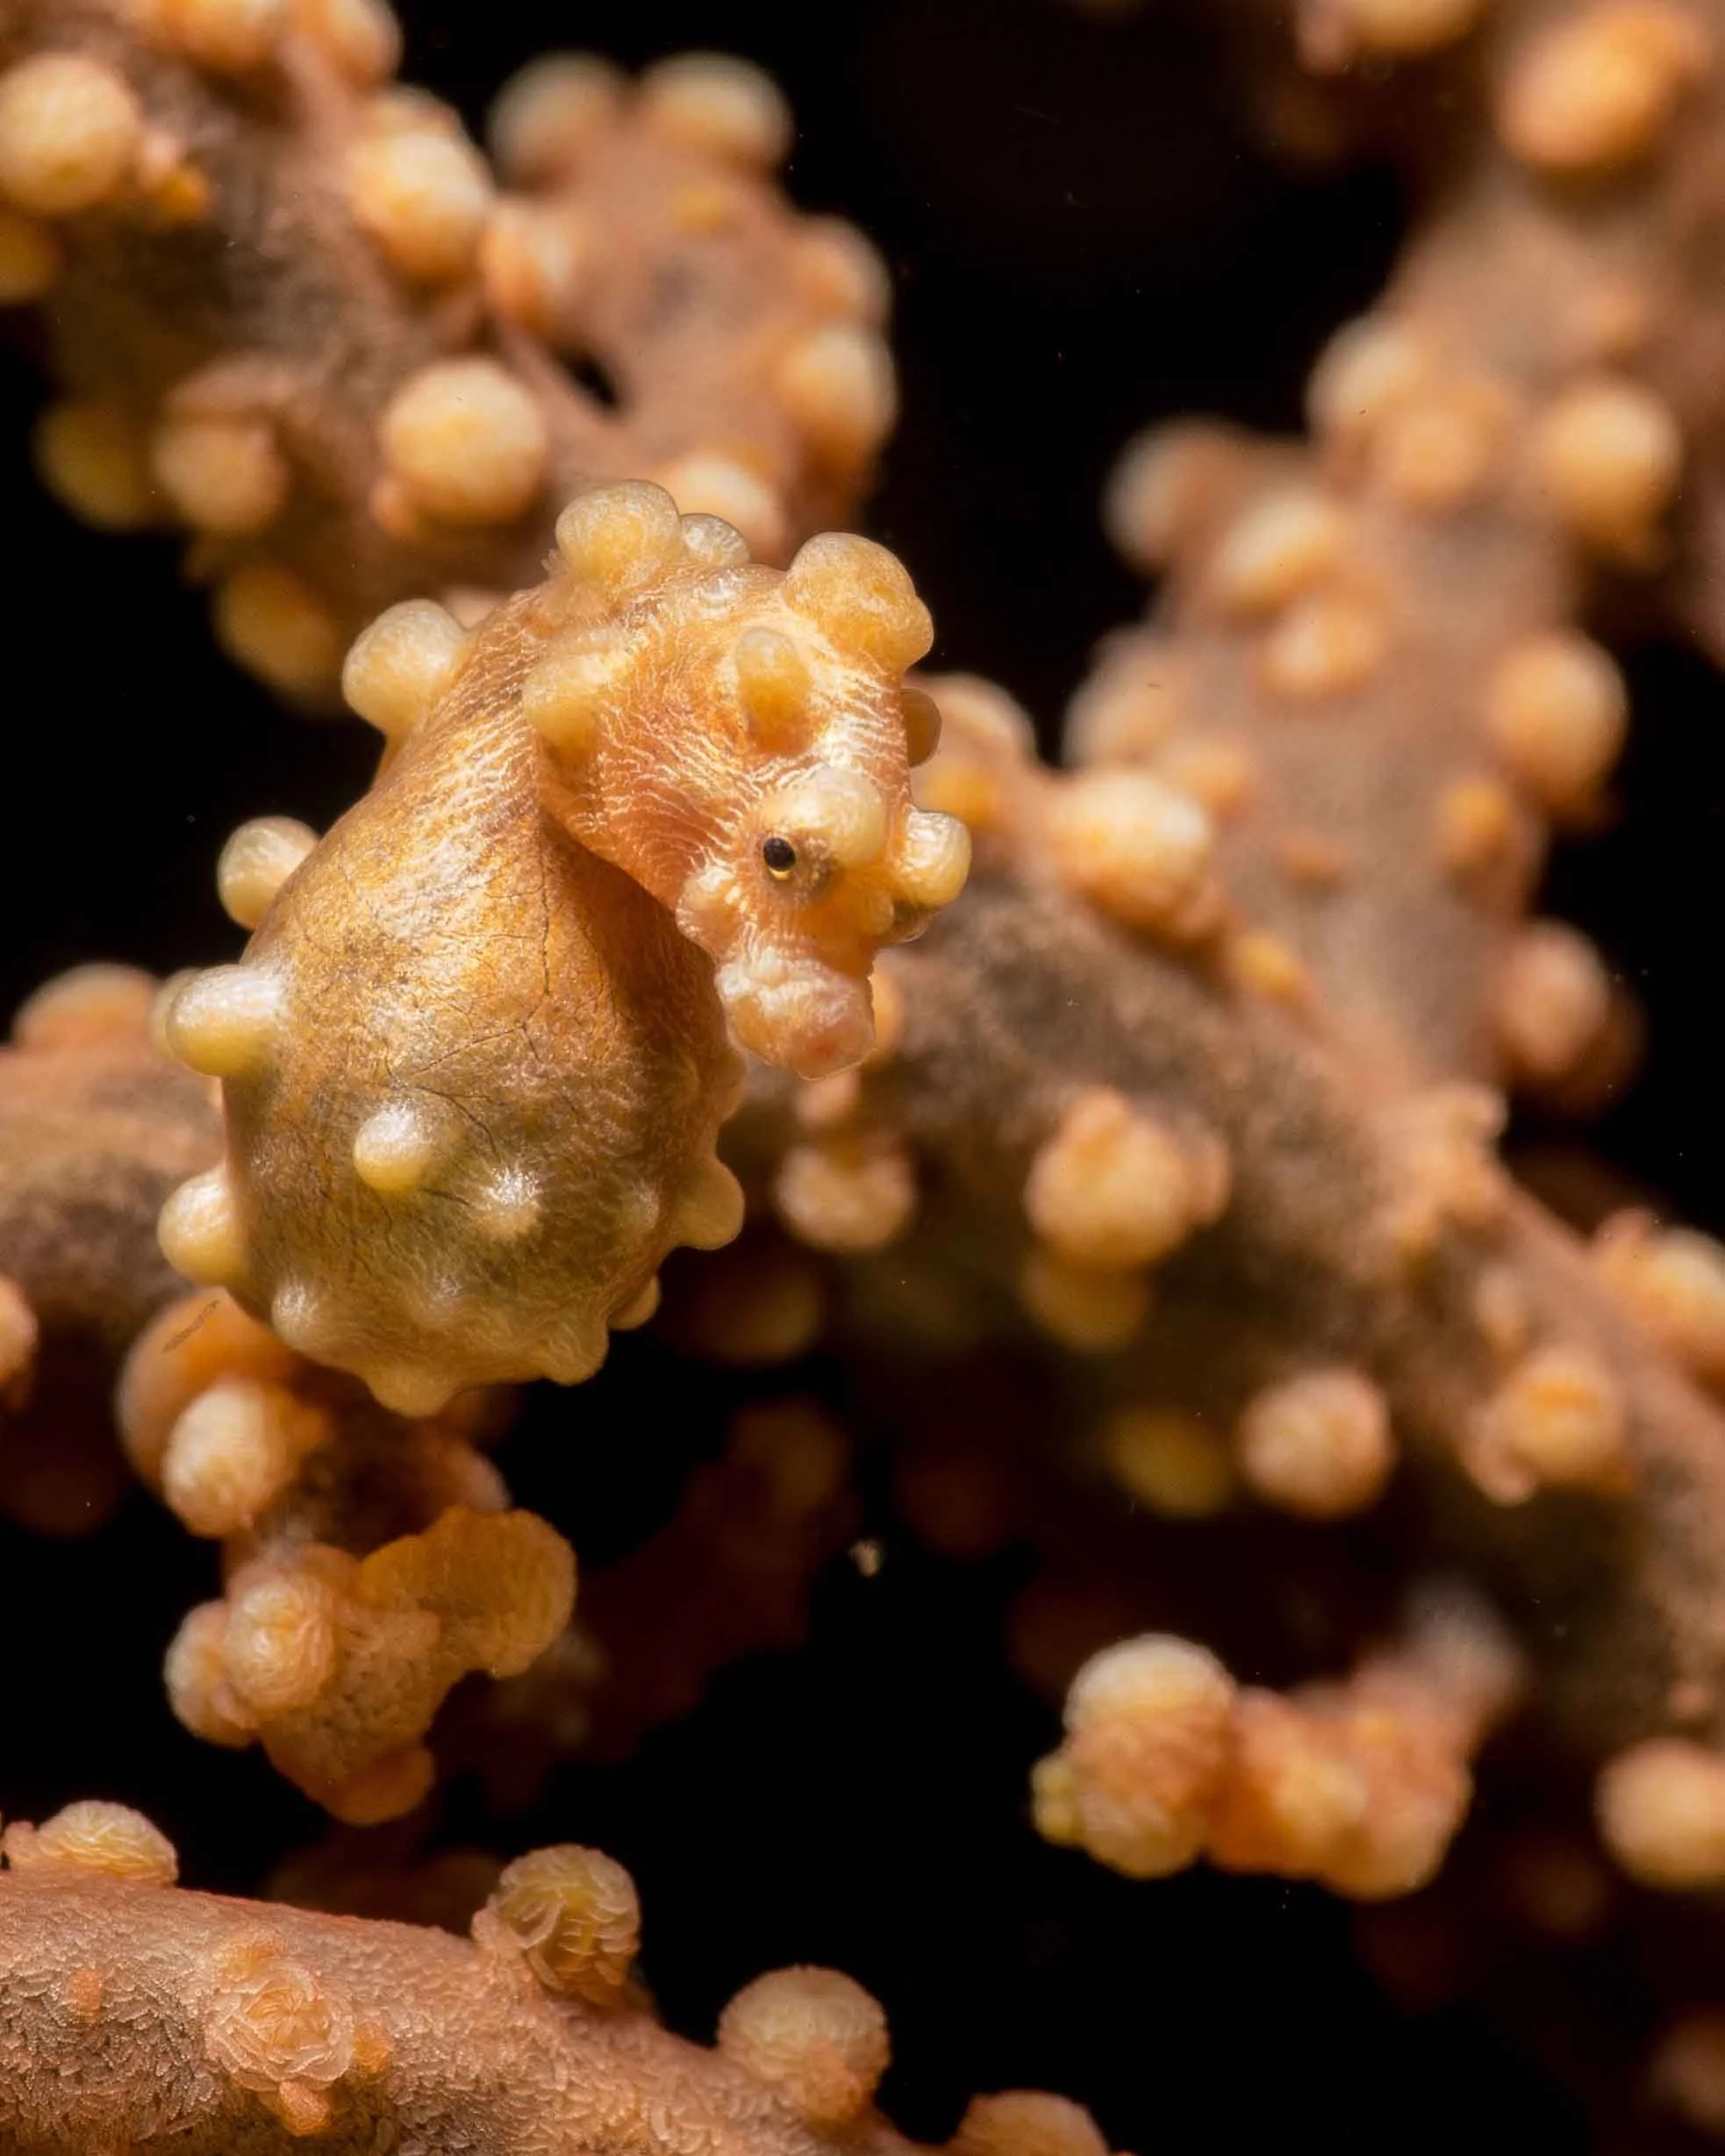
Pygmy Seahorses are a classic macro photography subject
🧭 Introduction: Small Subjects, Big Challenge
Macro underwater photography fundamentally changes the way you experience a dive. Rather than scanning for large shapes and movement, your focus shifts toward detail—tiny textures, subtle patterns, and subjects that most divers pass without noticing. What once looked like empty sand begins to reveal shrimp and gobies, while a single piece of coral can host nudibranchs you never realized were there. Over time, even something as small as a pygmy seahorse becomes one of the most rewarding subjects you can encounter underwater.
Capturing these subjects, however, presents a very different set of challenges. Low light, moving water, and extremely small points of focus all combine to make macro photography technically demanding. At the same time, maintaining stable buoyancy while working close to delicate reef structures adds another layer of complexity. The result is a style of photography that depends as much on control and precision as it does on creativity.
Achieving that level of control relies heavily on your equipment. A well-chosen combination of camera, lens, and lighting does more than improve image quality—it allows macro photography to work in the first place. It provides the working distance needed to avoid disturbing your subject, the depth of field control required to isolate fine detail, and the ability to shape light in a way that enhances texture without overwhelming the scene. Equally important is choosing a setup that suits how you actually dive, whether that involves traveling light, shooting opportunistically, or focusing entirely on macro subjects in destinations like Anilao or Lembeh.
With that in mind, this guide breaks down the best underwater macro photography setups for 2026, from compact systems through to full-frame rigs, and explains what really matters when you are trying to capture detail at this scale.
🎯 Who This Guide Is For
This guide is for divers who want to get more out of macro photography—whether you’re just starting out or looking to refine your setup.
If you’re:
Curious about getting into underwater photography and want a simple starting point
Already shooting with a compact or mirrorless camera and thinking about upgrading
Planning a dedicated macro trip to places like Anilao or Lembeh
Or trying to photograph smaller, more challenging subjects like pygmy seahorses
…then this guide will help you understand what matters—and what doesn’t—when building a macro setup.
It’s not about having the most expensive gear.
It’s about having the right setup for how you dive, and knowing how to use it effectively underwater.
📸 What Makes a Good Macro Setup Underwater?
Before getting into specific gear, it’s worth understanding what actually matters, because a good macro setup isn’t just about magnification—it’s about control.
Underwater conditions make that control harder to achieve. Light drops off quickly, even small movements affect your framing, and your subject is often sitting on a background that’s just as detailed as the thing you’re trying to photograph. Without a setup that gives you control over these variables, even the best camera will struggle to deliver consistent results.
A strong macro setup needs to allow you to focus close enough to fill the frame, while still maintaining enough working distance to avoid getting right on top of the subject. This balance is important not just for composition, but also for minimizing disturbance—especially when photographing shy marine life or anything living on delicate coral.
Lighting plays an equally important role. Rather than relying on power alone, macro photography depends on how well you can shape light around a subject. The ability to control strobe position and angle is what allows you to bring out texture, avoid backscatter, and separate your subject from a busy background.
Stability is another factor that’s often overlooked, but it has a direct impact on your results. A setup that is too large or poorly balanced can make it difficult to hold position in the water, particularly in current or when working close to the reef. Even slight instability can lead to missed focus or compromised composition.
Ultimately, the best macro setup isn’t defined by price or complexity, but by how much control it gives you in real diving conditions. The more stable, adaptable, and predictable your setup feels underwater, the easier it becomes to capture consistent, high-quality images.
🏆 Best Underwater Macro Setups (By Level)
Choosing the right macro setup isn’t just about budget—it’s about where you are in your photography and how you like to dive.
Some divers want something simple and travel-friendly that works on any trip. Others are building a dedicated macro system for places like Anilao or Lembeh. And if you stick with it long enough, you’ll probably find yourself gradually moving toward more specialized gear.
The key is understanding what each level offers—and where it starts to make a difference.
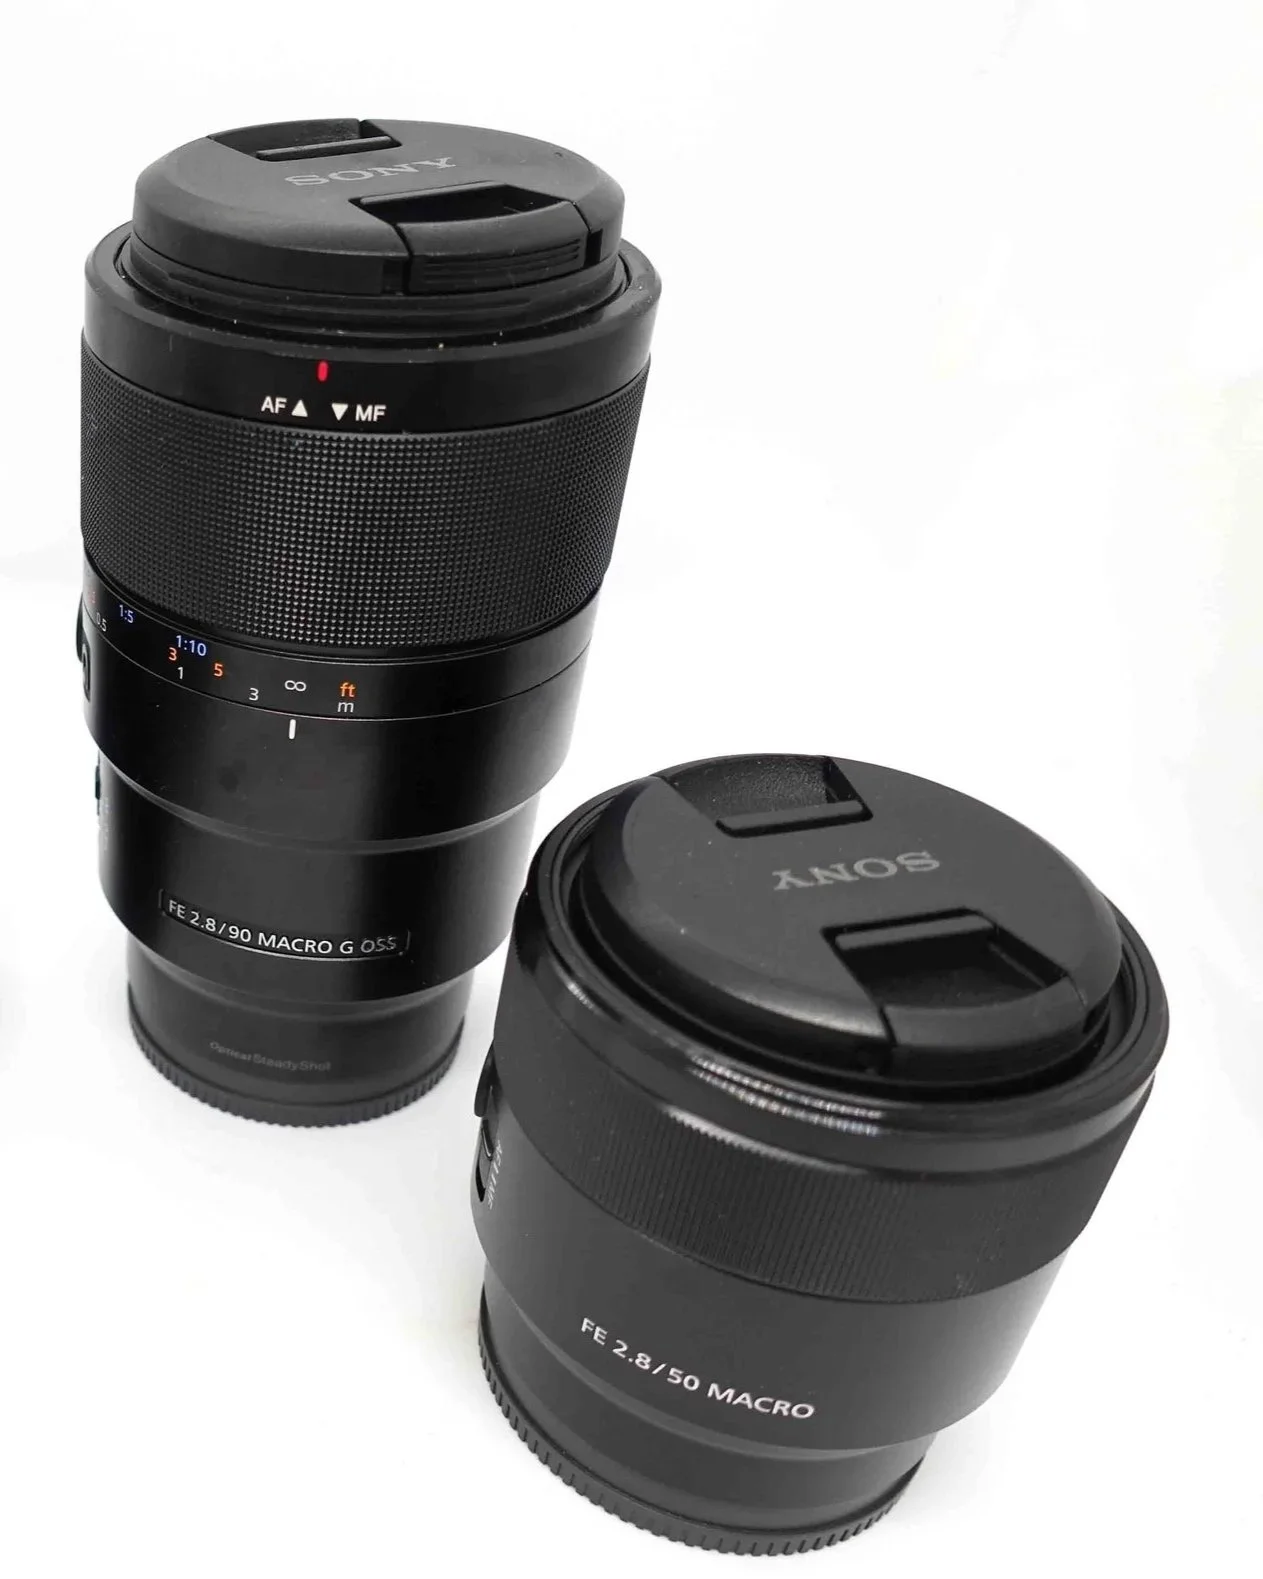
90mm & 50mm macro lenses
🟢 Beginner: Compact Cameras
If you’re just getting into underwater photography, compact cameras are still one of the best places to start.
A typical setup includes a compact camera such as an Olympus TG-6 or Sony RX100, paired with a housing and either a single strobe or a video light. It’s a simple, lightweight system that’s easy to travel with and quick to set up in the water.
What makes compacts particularly well suited to macro is their ability to focus very close, often without needing additional lenses. Combined with fast autofocus, this makes it much easier to lock onto small subjects compared to larger systems.
They’re also relatively affordable, which lowers the barrier to entry and lets you focus on learning the fundamentals—composition, lighting, and stability—without being overwhelmed by gear.
One of the biggest advantages is the ability to add wet macro lenses, which can dramatically increase magnification without changing your base setup. This gives you a lot of flexibility for a relatively small investment.
For many divers, this is the point where macro photography becomes addictive.
🟡 Intermediate: Mirrorless APS-C Systems
Stepping up to a mirrorless APS-C system gives you more control, more flexibility, and noticeably better image quality.
A typical setup here might include a camera like the Sony a6400 or Nikon Z50, paired with a 60mm macro lens and dual strobes. Compared to a compact system, you gain improved dynamic range, better control over depth of field, and more consistent image quality across different lighting conditions.
The 60mm macro lens is a good starting point at this level. It offers a balance between magnification and usability, making it easier to compose shots while still getting close enough for detailed macro work. It’s particularly well suited to subjects that aren’t extremely small or shy.
This level is often where divers begin to take macro photography more seriously. You have enough control to refine your lighting and composition, while still keeping the setup relatively manageable in the water.
🔴 Advanced: Full Frame Macro Setup
At the advanced level, macro photography becomes much more specialized—and much more rewarding.
A full-frame setup typically includes a camera such as a Sony A7 series body, a 90–100mm macro lens, wet diopters like the Nauticam SMC or MFO series, and dual strobes. This is the kind of system that gives you maximum flexibility, allowing you to move from standard macro to extreme super macro within the same dive.
The longer macro lens is a key part of this setup. It gives you more working distance, which makes a big difference when photographing shy or delicate subjects like shrimp, gobies, or pygmy seahorses. It also helps with lighting, giving you more space to position your strobes effectively.
Adding a wet diopter takes things further, pushing into serious magnification where you can capture incredibly fine detail. This is where macro photography becomes more technical, but also where it starts to produce truly unique images.
This is also the setup I use, particularly on dedicated macro trips. It’s not the most compact or travel-friendly option, but it offers the highest level of control and image quality when everything comes together.
Across all three levels, the progression is less about “better gear” and more about greater control and flexibility. Each step gives you more tools to shape your images—but also requires a bit more effort to manage in the water.
🔍 Macro Lenses Explained
Choosing the right macro lens has a bigger impact on your results than almost any other part of your setup. It affects not just how close you can get, but how you compose, how you light your subject, and how easy the whole process feels underwater.
The two most common focal lengths for macro photography are 60mm and 90–100mm, and each behaves quite differently in the water.
A 60mm macro lens is generally easier to use, particularly if you’re still developing your technique. It offers a wider field of view, which makes it simpler to find and frame your subject, and more forgiving when it comes to movement. This makes it a good choice for slightly larger subjects or situations where conditions aren’t ideal.
A 90–100mm macro lens, on the other hand, is where macro photography starts to become more specialized. The longer focal length gives you greater magnification and, importantly, more working distance. That extra space makes it easier to photograph shy or delicate subjects, and gives you more room to position your strobes effectively.
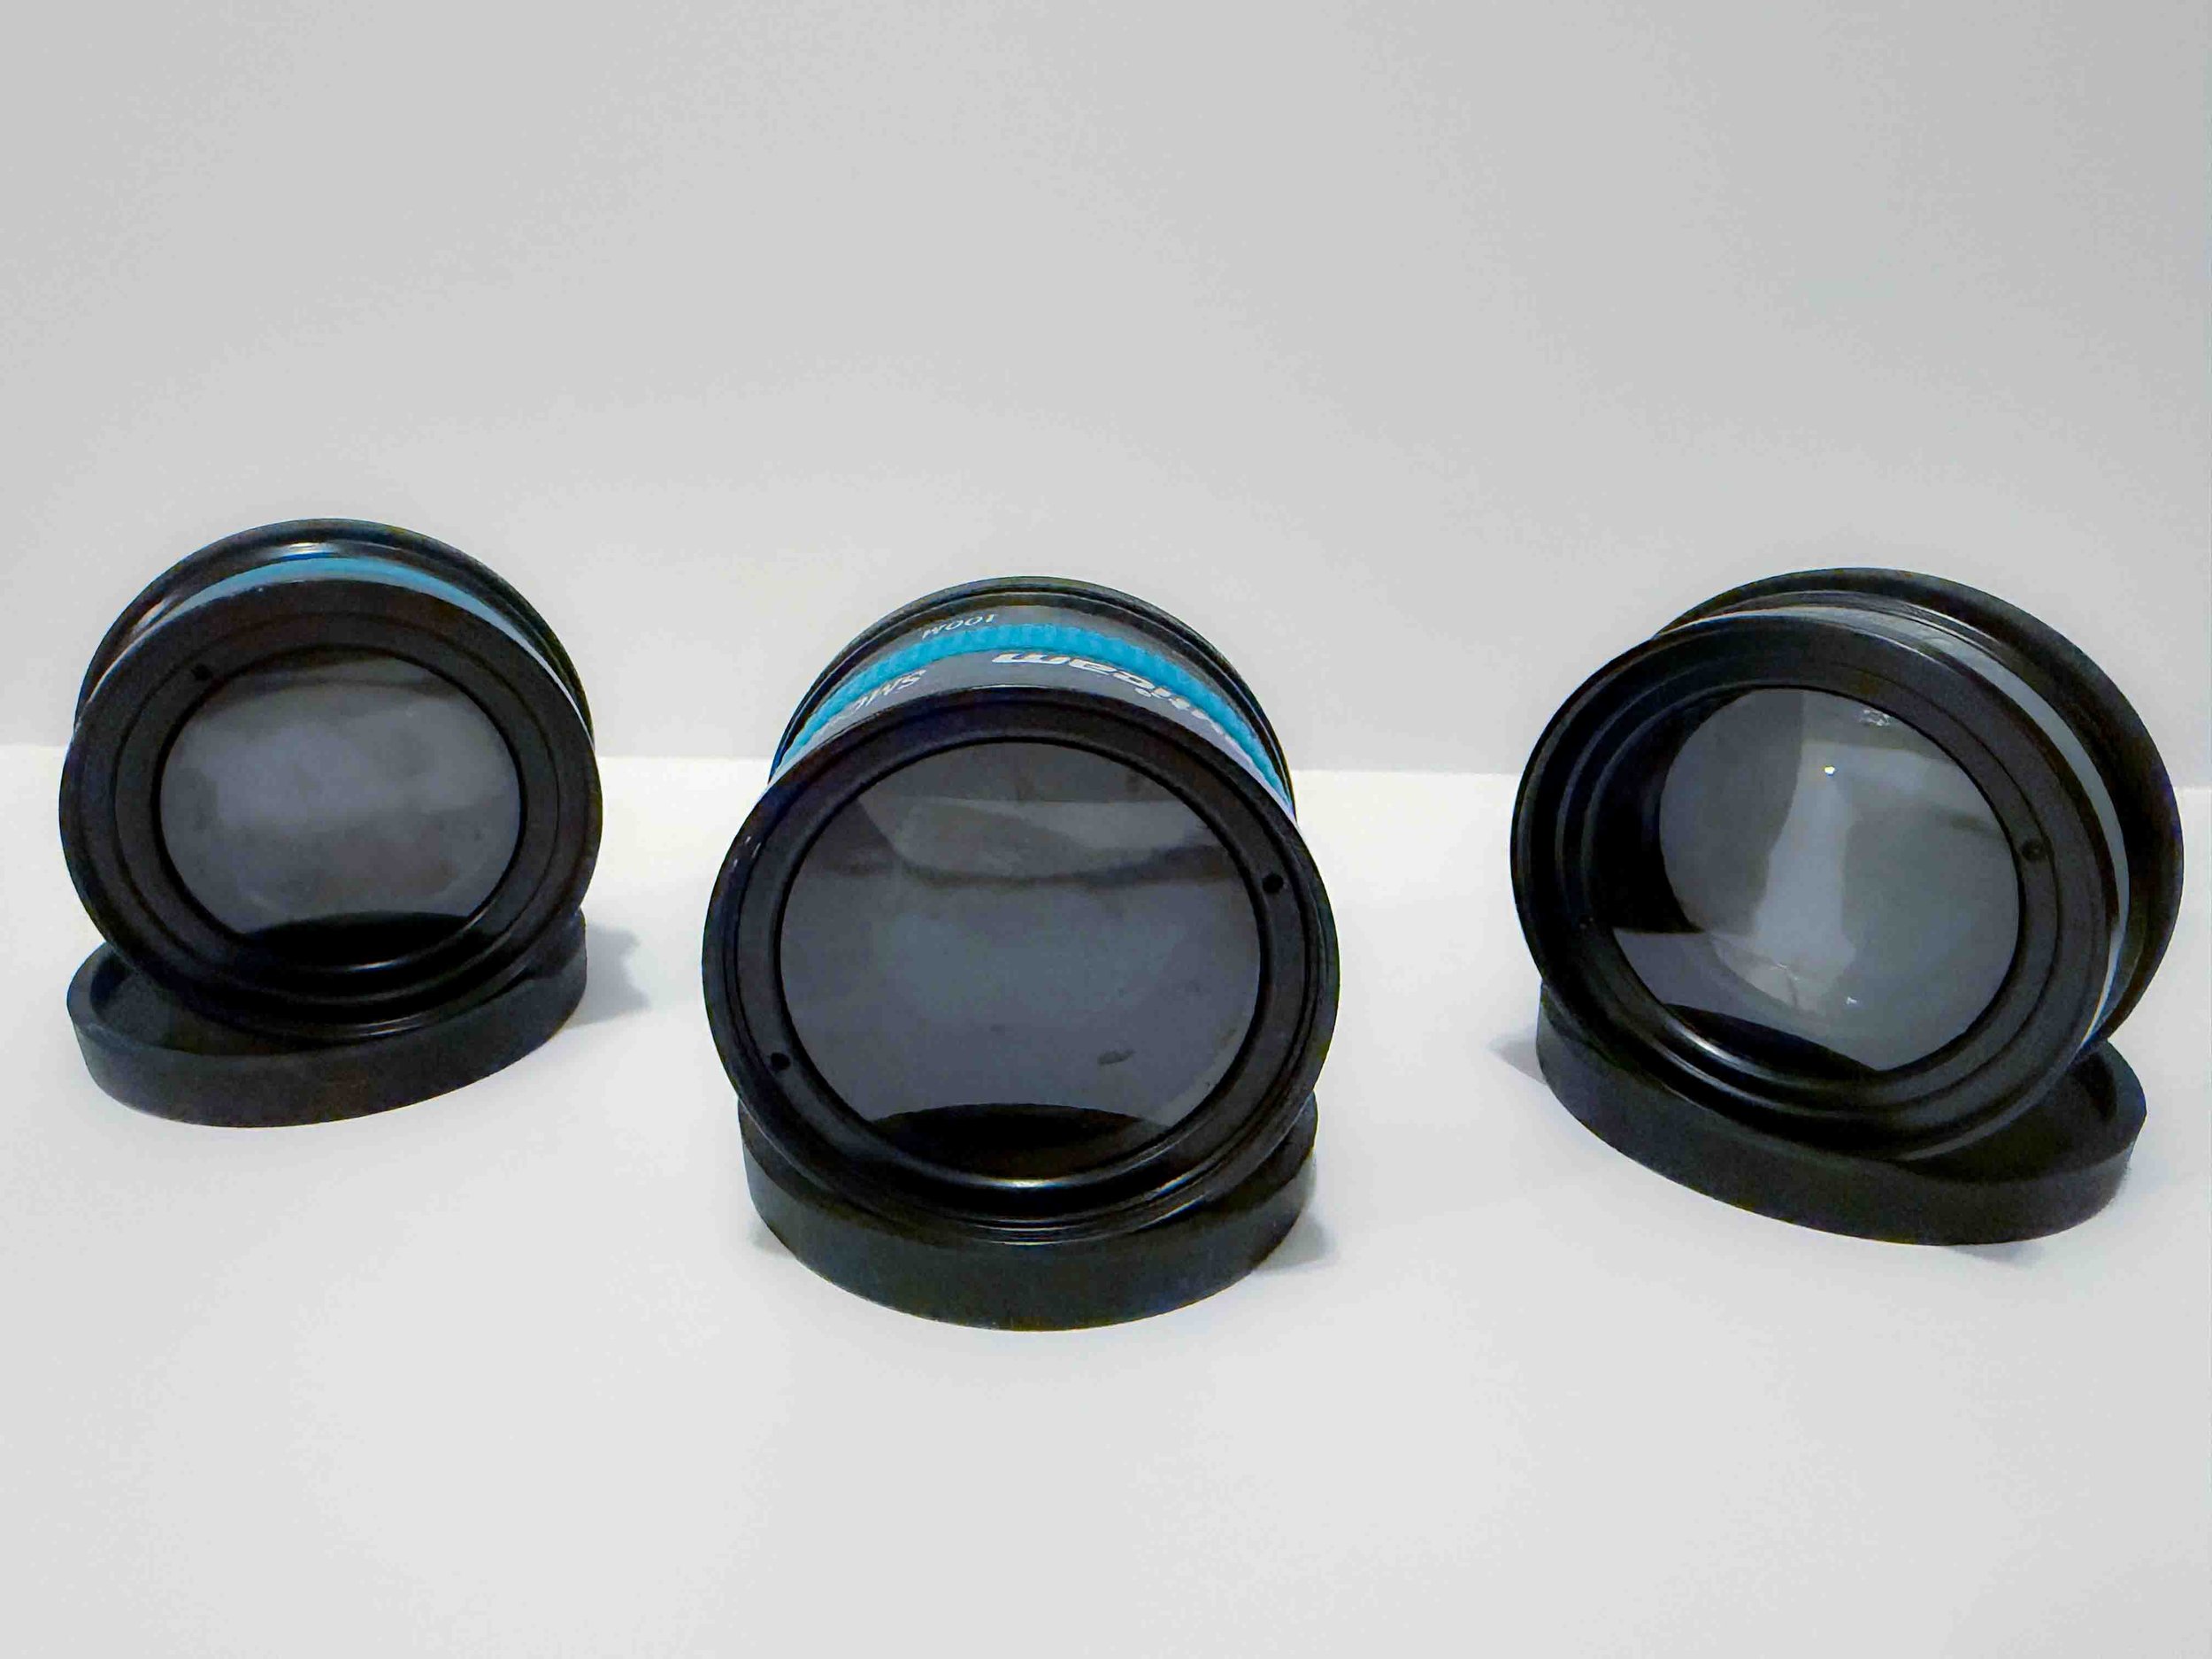
A Selection of wet lenses for use in macro photography
The trade-off is that it requires more precision. Your depth of field becomes shallower, focus is more critical, and even small movements can throw off your shot. But once you’re comfortable with it, the results are on a different level.
For most divers who stick with macro photography, this is the range they eventually move toward.
🔬 Wet Macro Lenses (A Game Changer)
Wet macro lenses take things a step further.
Unlike traditional lenses, these attach to the outside of your housing port and can be added or removed during a dive. That flexibility changes how you approach macro photography, allowing you to adapt to different subjects without committing to a single level of magnification.
On a typical dive, you might start with standard macro—photographing nudibranchs, frogfish, or larger critters. Then, if you come across something much smaller, like a pygmy seahorse or a tiny shrimp, you can switch to a wet diopter and move into super macro territory.
This ability to adapt in real time is what makes wet lenses such a powerful upgrade. Instead of being locked into one type of shooting, you can respond to whatever the dive presents.
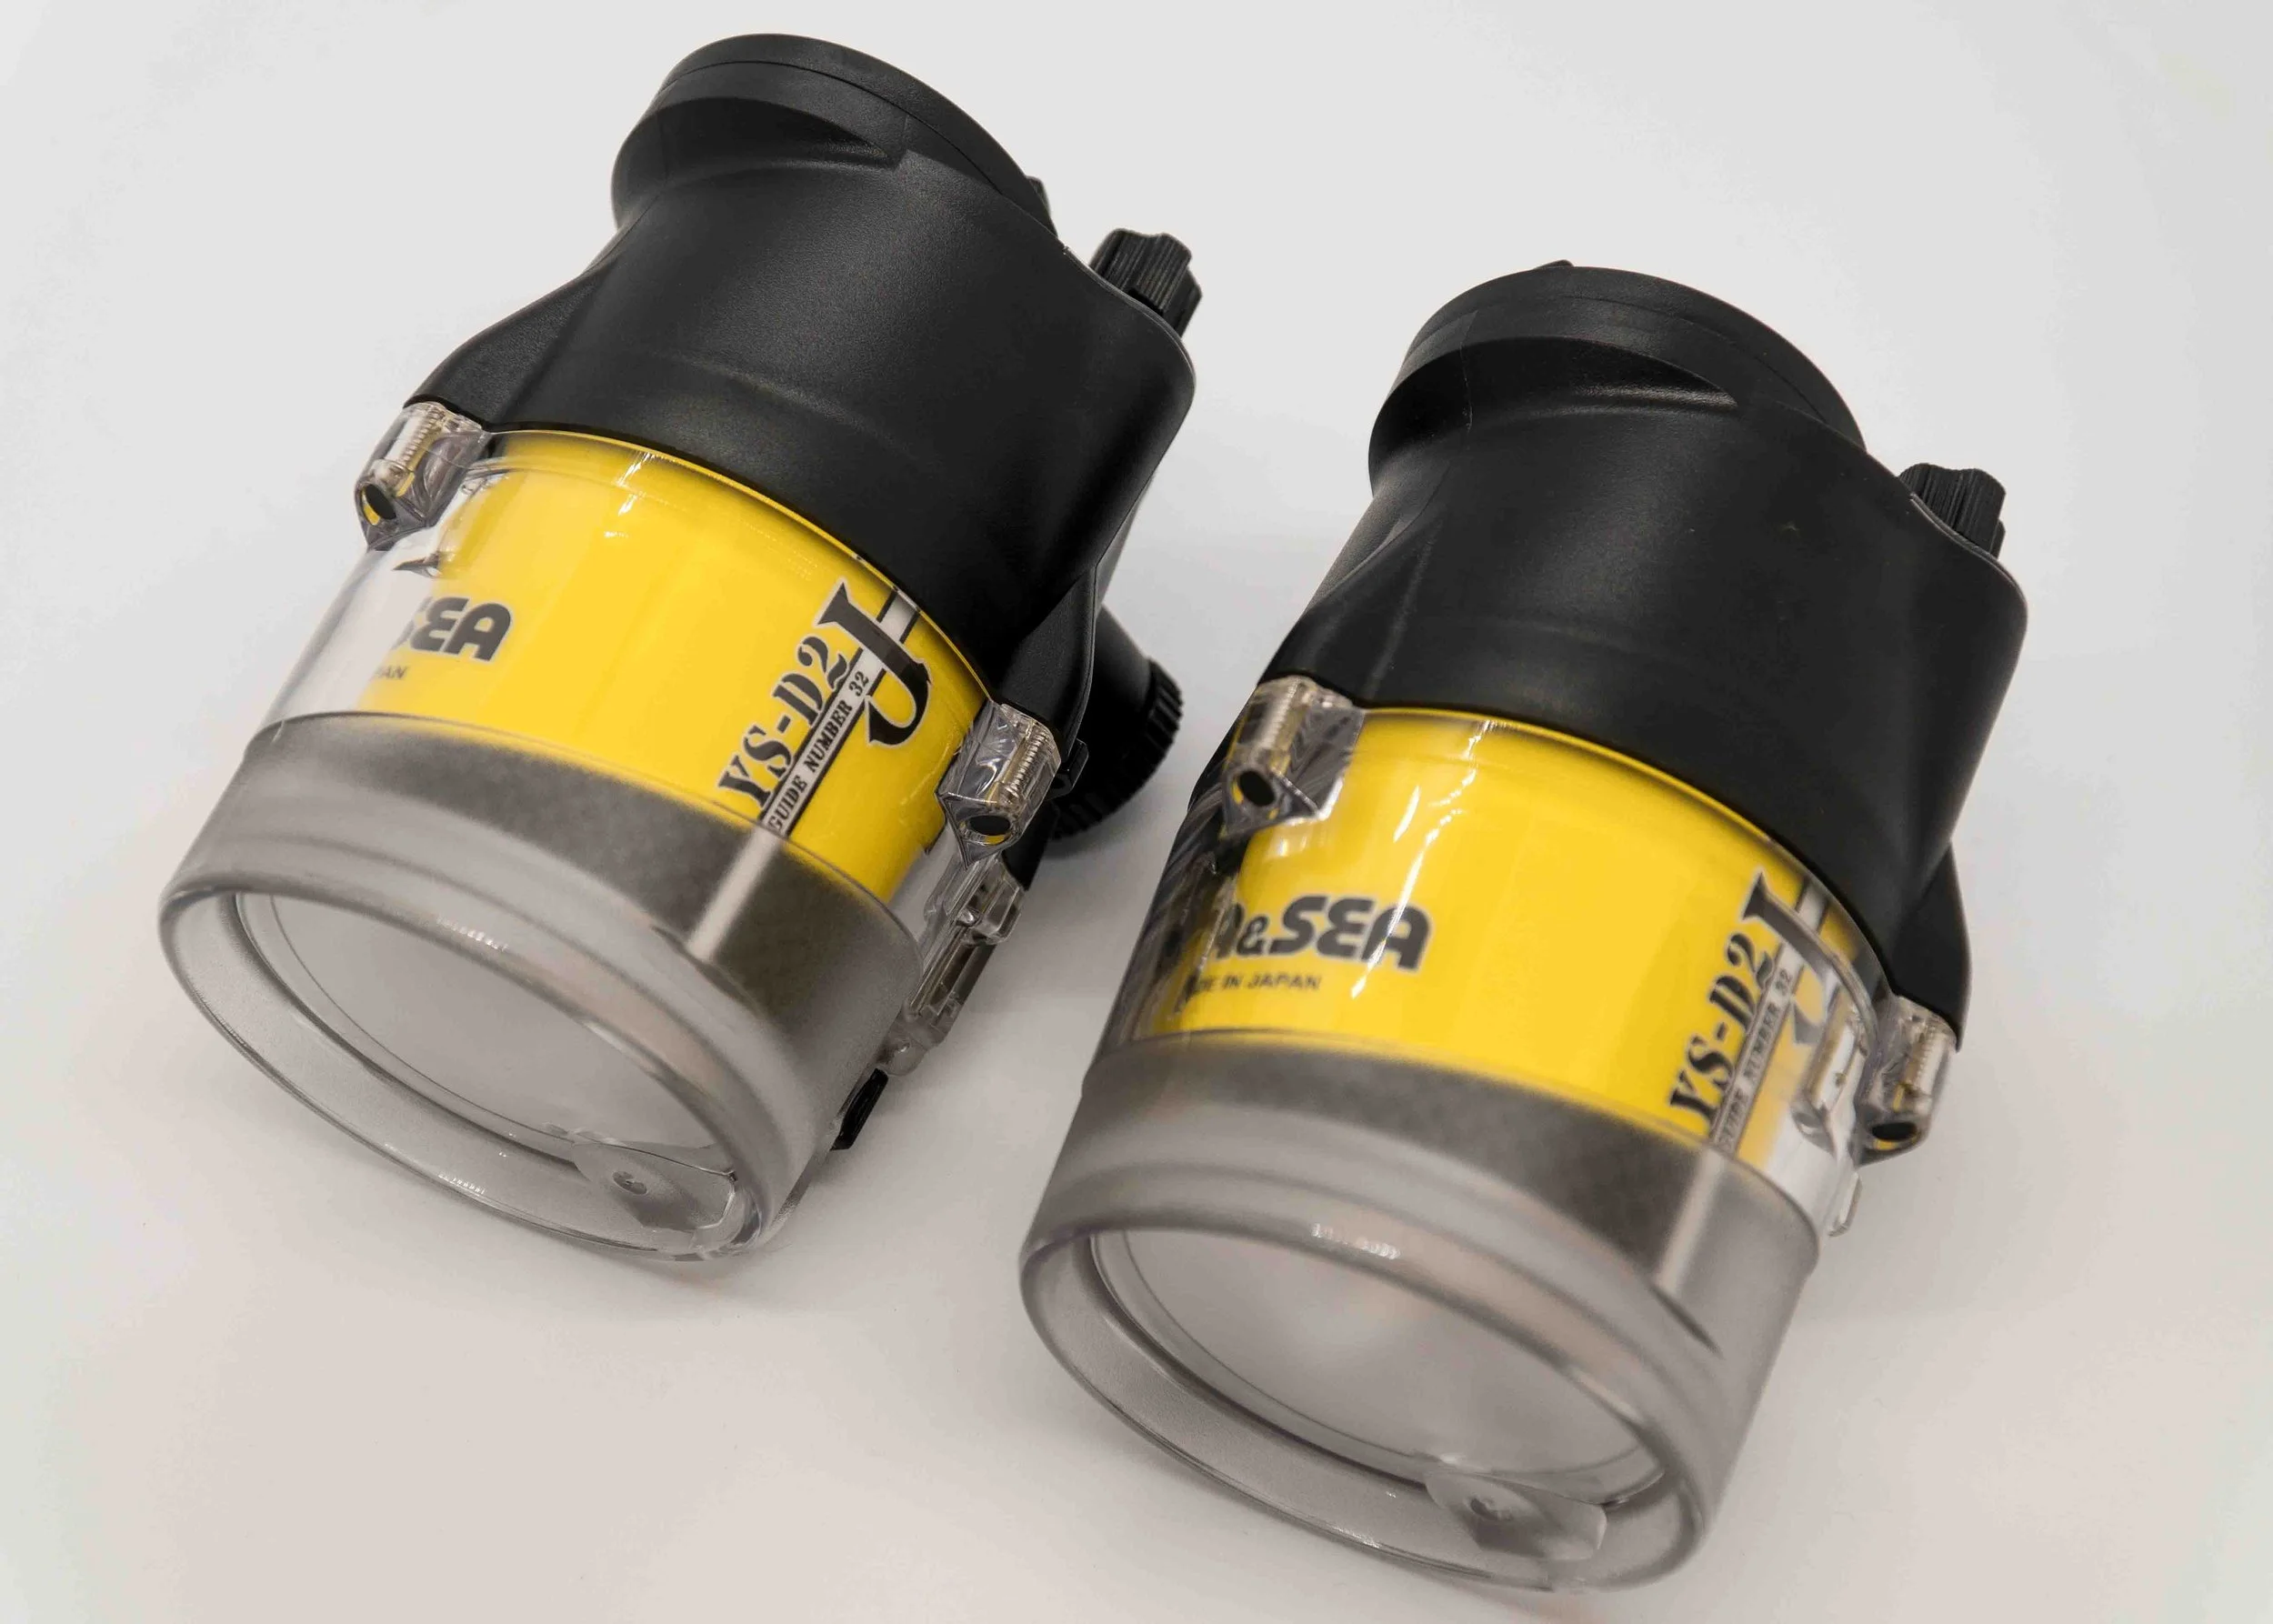
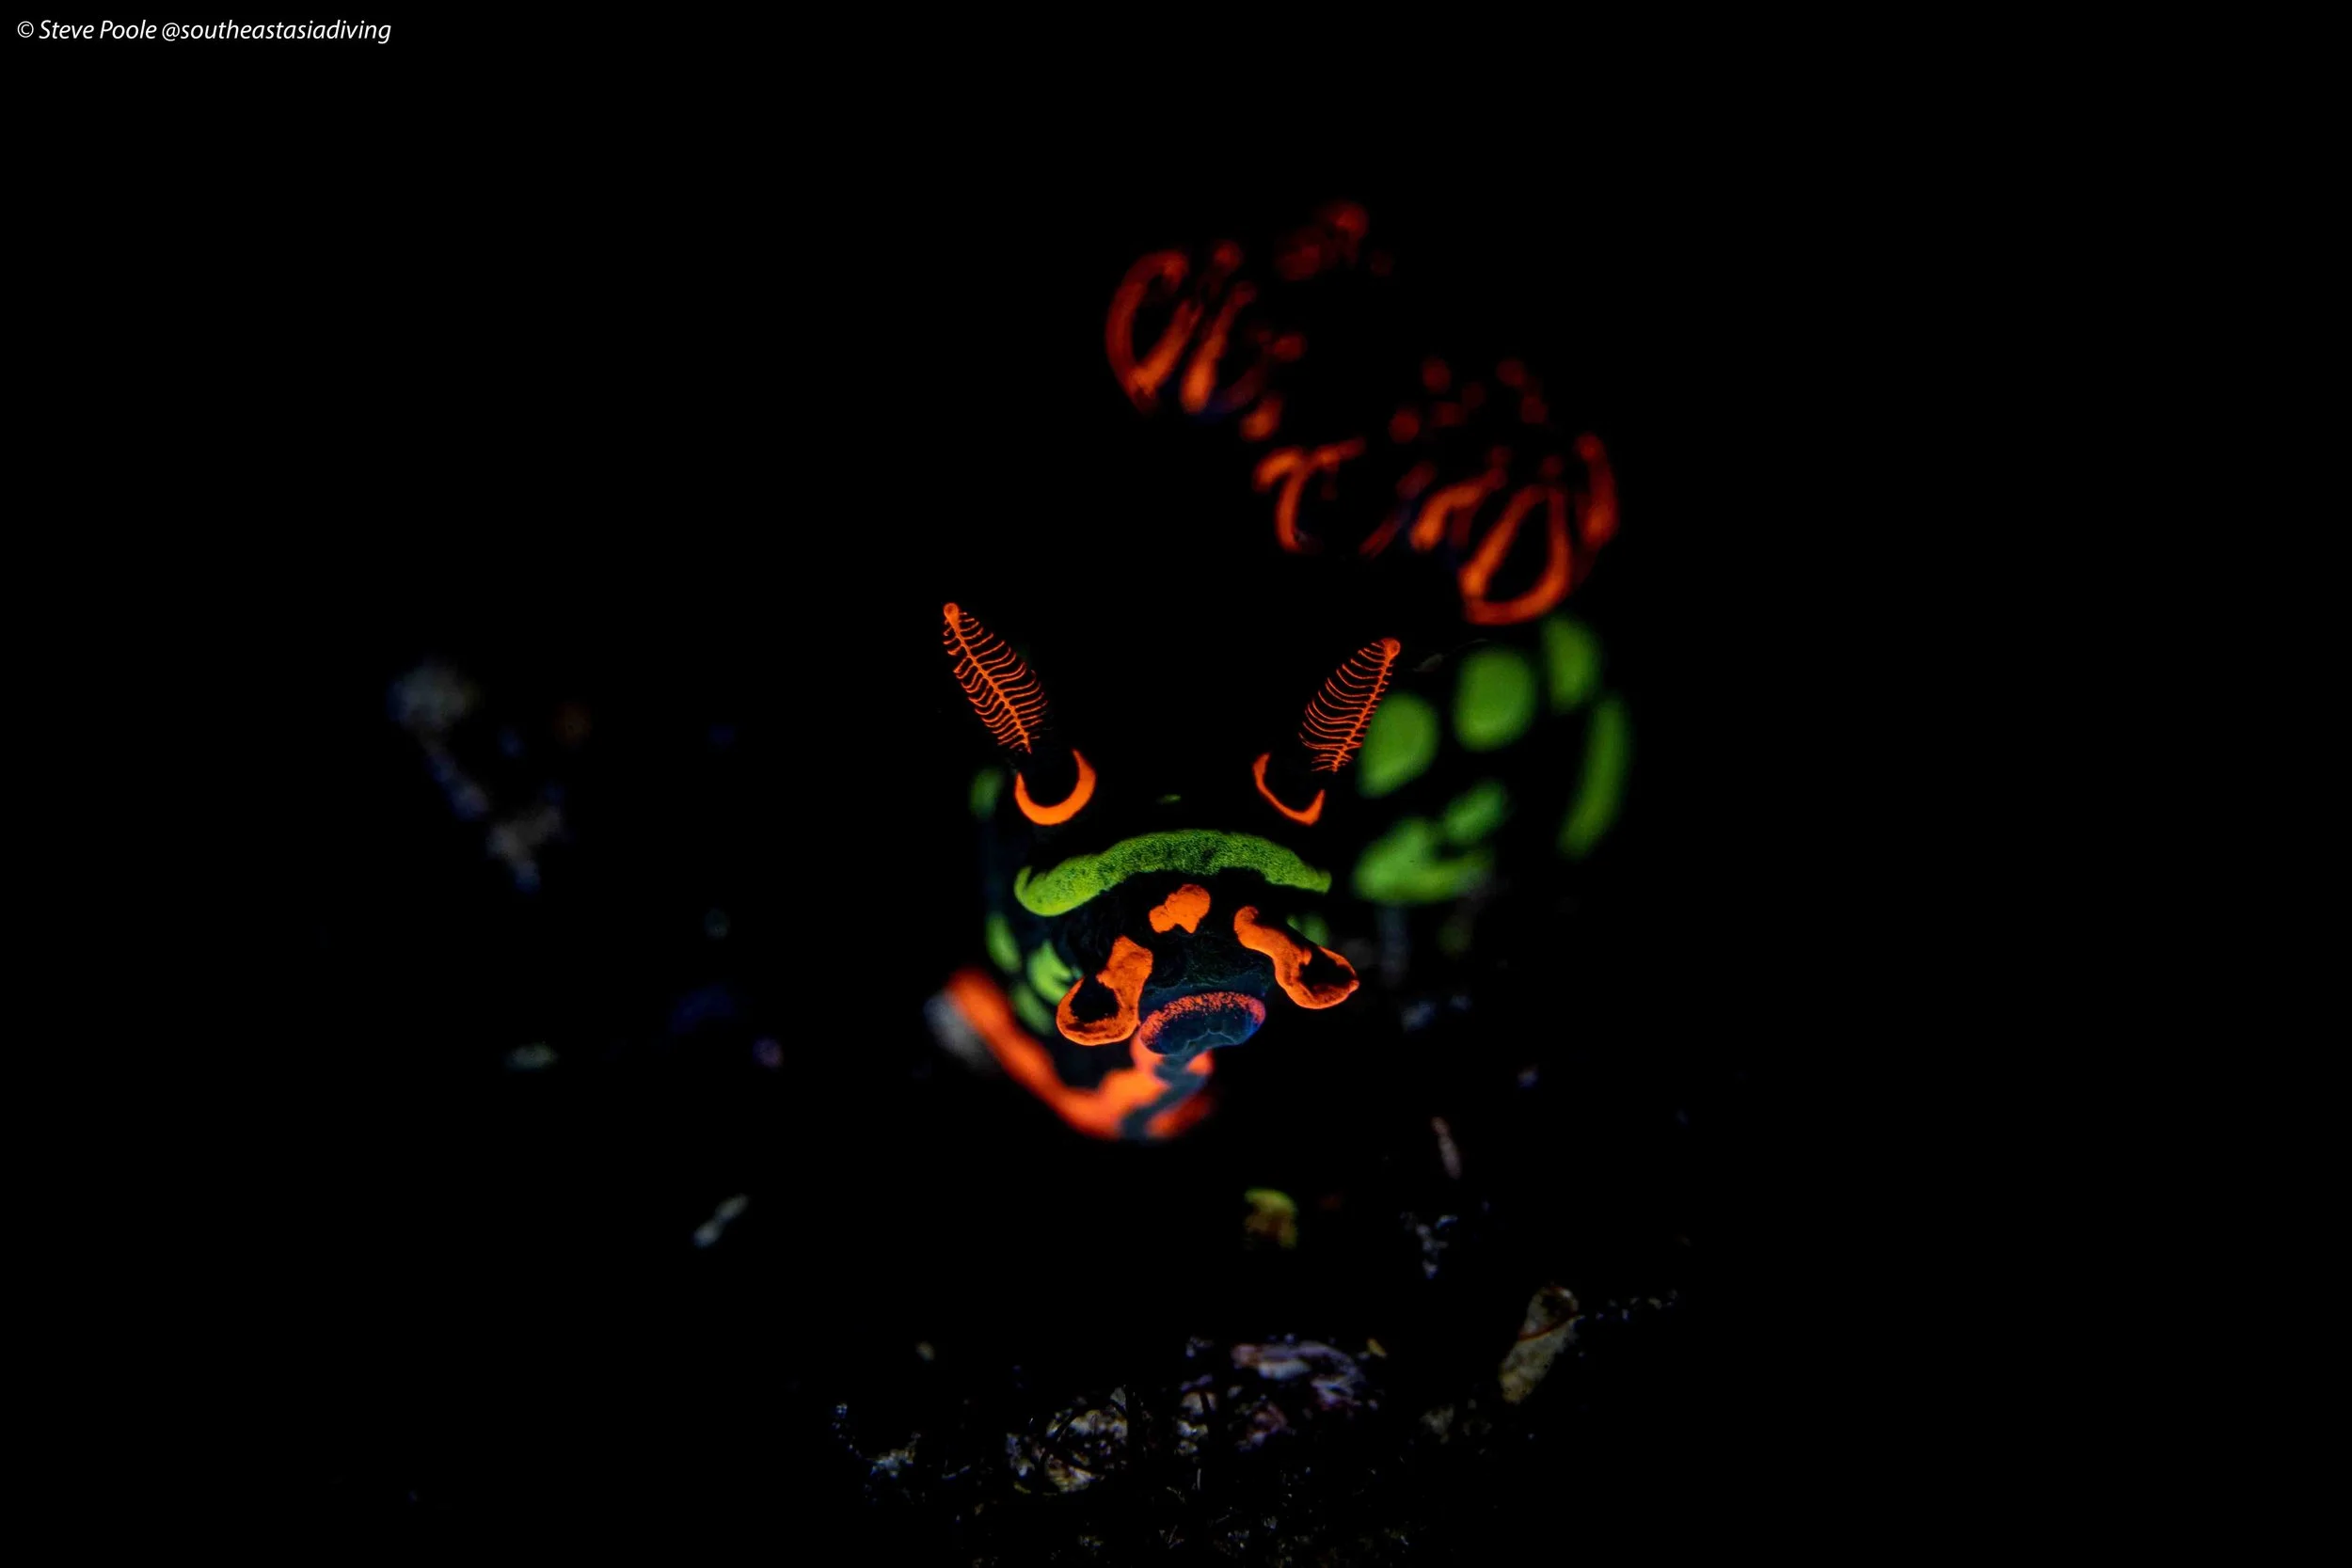
Strobes are essential for well lit photographs
They do add complexity, and they take practice to use effectively, but for many macro photographers, they’re one of the most impactful additions you can make to your setup.
💡 Strobes & Lighting
Lighting is where macro photography is won or lost.
Small subjects are often sitting on highly textured backgrounds, and it’s very easy to overpower the scene with too much light. The result is flat, harsh images with blown highlights and backscatter that distracts from the subject. A more effective approach is to think less about power and more about control.
What matters most is how you shape the light.
Keeping strobe power relatively low gives you more flexibility, allowing you to fine-tune exposure through positioning rather than intensity. By adjusting the angle of your strobes, you can bring out texture, create separation from the background, and avoid lighting the water directly in front of your lens.
In practice, there are a couple of setups that work consistently well. Using a single strobe positioned slightly above the subject and angled downward can create a more natural look, with subtle shadow and depth. When using two strobes, bringing them in tight and low—angled inward at reduced power—helps control spill and keeps the focus on the subject rather than the surrounding water.
Small changes in positioning often make a bigger difference than increasing power.
⚠️ Don’t Overuse Your Strobes
It’s easy to get into the habit of firing shot after shot, especially when working with a cooperative subject. But with sensitive marine life, a more measured approach usually produces better results.
Spacing out your shots and keeping strobe use to a minimum reduces stress on the subject and gives you time to reassess your composition and lighting between frames. In many cases, slowing down leads to more intentional images—and a higher chance of getting the shot you’re actually looking for.
⚙️ Essential Macro Accessories
Once you have your core setup in place, a few small additions can make a significant difference to how easy macro photography feels underwater.
These aren’t always the most exciting pieces of gear, but they often have the biggest impact on consistency and control.
A focus light is one of the most useful tools you can add, especially when working in low light or with very small subjects. It helps your camera lock focus more quickly and accurately, which becomes increasingly important as you move into super macro. It also makes it easier to see exactly what you’re shooting, particularly on deeper or darker dives.
Arms and clamps play a bigger role than many people expect. They determine how precisely you can position your strobes, which directly affects your lighting. A well-balanced arm setup allows you to make small adjustments easily and hold your strobes exactly where you want them, even in current.
For triggering strobes, fiber optic cables are widely used because of their simplicity and reliability. They avoid many of the connection issues associated with electrical systems and are generally easier to travel with and maintain. For most macro setups, they’re the most straightforward option.
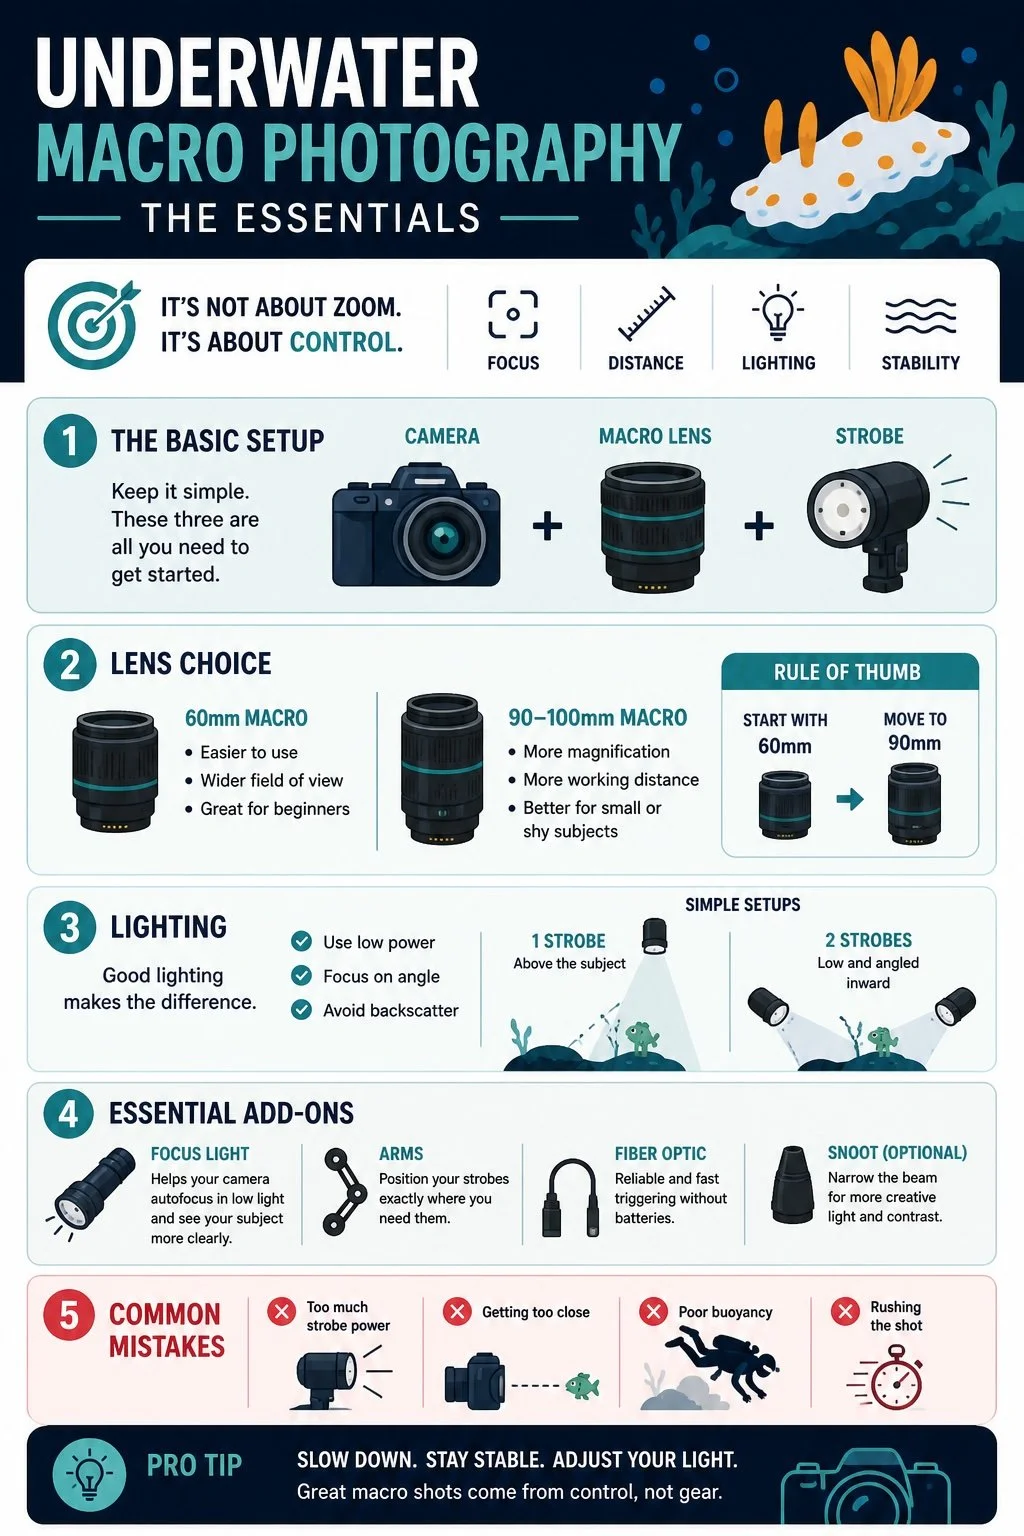
A snoot is more of a specialized tool, but one that can open up a completely different style of shooting. By narrowing your light into a tight beam, it allows you to isolate a subject against a darker background, creating more dramatic, high-contrast images. It takes practice to use effectively, but once you get comfortable with it, it can produce some very striking results.
These accessories don’t change what your camera is capable of—but they make it much easier to get consistent results in real diving conditions.
🎯 Real-World Setup Examples
Understanding the theory behind macro setups is one thing, but how that translates into a real dive setup is what really matters.
Depending on how you travel, how often you dive, and how seriously you want to pursue macro photography, your ideal setup can look very different. These are three common approaches, each with its own strengths.
✈️ Travel-Friendly Macro Kit
A compact system paired with a wet macro lens and a single strobe is one of the most versatile and practical setups you can take on the road.
It’s lightweight, easy to pack, and quick to manage in the water—ideal if you’re combining diving with a broader trip or don’t want to travel with a large amount of gear. Despite its simplicity, this type of setup is more capable than many people expect, especially for subjects like nudibranchs, small fish, and even some super macro with the right wet lens.
This is a great option for casual shooters or anyone who wants to improve their photography without committing to a full system. It keeps things simple, while still giving you the tools to capture detailed macro images.
📸 Serious Macro Setup
Moving up to an APS-C mirrorless system with a 60mm macro lens and dual strobes gives you a noticeable step up in control and image quality.
This is the kind of setup that works well for dedicated macro trips, particularly in places like Anilao or Lembeh, where the focus is entirely on small subjects. The addition of dual strobes allows for more refined lighting, helping you shape the image and reduce backscatter more effectively.
The 60mm lens keeps things relatively manageable, making it easier to frame subjects and maintain focus, while still offering enough magnification for most macro situations. For many divers, this level represents a balance between performance and practicality.
🔥 Pro-Level Macro Setup
A full-frame system with a 90mm macro lens, wet diopters, and dual strobes is where macro photography becomes highly specialized.
This type of setup gives you maximum flexibility on a dive. You can shoot standard macro when conditions allow, then switch to super macro by adding a wet diopter when you encounter something much smaller. The longer lens provides more working distance, which is particularly useful for shy or delicate subjects.
The trade-off is complexity. These setups are larger, require more precise handling, and demand better buoyancy control. But when everything comes together, they offer the highest level of detail and image quality.
This is the setup I use on most dedicated macro trips, especially when I know I’ll be targeting smaller subjects.
🔧 My Current Macro Setup
For most of my macro diving, I use a setup built around flexibility and control:
• Sony A7R V
• Nauticam housing
• 90mm macro lens
• Nauticam SMC / MFO wet lenses
• Dual Sea & Sea YS-D3 strobes
Note: This is the system I personally use. I’m not sponsored by any of these brands—just sharing what has worked consistently for me across different dive conditions.
🔧 If you're looking to build a similar setup, here’s the gear I personally use and recommend:
Note: Some of the links above are affiliate links. This means I may earn a small commission if you purchase through them, at no extra cost to you.
Each of these setups can produce great results. The difference comes down to how much control you want, how much complexity you’re willing to manage, and how you prefer to dive.
⚠️ Common Macro Photography Mistakes
Even with the right gear, a few common mistakes can hold you back—and they’re often the same ones most divers go through when they start taking macro photography more seriously.
One of the most common is using too much strobe power. It’s an easy habit to fall into, especially when you’re trying to illuminate a small subject, but it usually leads to harsh highlights, flat lighting, and increased backscatter. In most situations, reducing strobe power and adjusting position instead will give you a much cleaner and more natural result.
Getting too close to the subject is another frequent issue. While it might seem like the best way to fill the frame, it often creates more problems than it solves—disturbing the subject, making lighting more difficult, and increasing the risk of damaging the surrounding reef. A better approach is to use the right focal length and working distance, allowing you to compose the shot without crowding the subject.
Poor buoyancy control can quietly undermine everything else. Even with a perfect setup, if you’re not stable in the water, it becomes much harder to achieve sharp focus and consistent framing. This is especially noticeable in macro photography, where even small movements are magnified. Taking the time to refine your positioning and stay neutral in the water will have a bigger impact on your images than most gear upgrades.
Another mistake is rushing the shot. It’s easy to spot something interesting and start shooting immediately, but macro photography rewards patience. Taking a moment to assess the angle, background, and lighting before pressing the shutter often leads to far better results. In many cases, the difference between an average shot and a great one comes down to a few seconds of adjustment.
Macro photography isn’t about reacting quickly—it’s about slowing down, refining your approach, and working with precision.
🌊 Final Thoughts
Macro photography isn’t just about gear—it’s about learning to see differently.
Once you start noticing the small details, the reef becomes a completely different place. What once looked like empty sand or background texture begins to reveal movement, behavior, and life on a completely different scale. It’s a shift in perspective that changes how you approach every dive.
The right setup plays an important role in that process. It gives you the tools to capture detail, control your lighting, and work effectively in challenging conditions. But it’s only part of the equation.
What really makes the difference is how you use it.
Taking the time to slow down, refine your positioning, and think about composition transforms your results far more than constantly upgrading gear. The best macro photographers aren’t necessarily using the most complex setups—they’re the ones who have learned to work patiently and deliberately in the water.
And once that starts to click, everything changes.
You begin to see opportunities where you wouldn’t have noticed anything before. Subjects you might have ignored become the focus of a dive. And the reef itself feels richer, more detailed, and more rewarding to explore.
With the right mindset—and a setup that supports it—macro photography becomes less about chasing shots, and more about discovering what’s already there.
❓ FAQ: Underwater Macro Photography
What is the best lens for underwater macro photography?
For most serious macro work, a 90–100mm macro lens is the best all-around choice. It offers greater magnification and, importantly, more working distance, which makes it easier to photograph shy subjects and position your lighting effectively.
That said, a 60mm macro lens is often a better starting point. It’s easier to use, more forgiving in terms of focus and composition, and works well for slightly larger subjects. Many divers begin with a 60mm and move to a longer lens as their technique improves.
Do I need two strobes?
Two strobes aren’t essential—but they’re highly recommended once you start taking macro photography more seriously.
A single strobe can work well, especially for simpler setups, but it can create harsher shadows and less balanced lighting. Adding a second strobe gives you much more control, allowing you to shape light more evenly, reduce contrast, and minimize backscatter.
In practice, dual strobes make it easier to get consistent, well-lit images.
Is macro harder than wide-angle photography?
In many ways, yes.
Macro photography requires more precision, better buoyancy control, and a slower, more deliberate approach. Small subjects are less forgiving, and even slight movements can affect focus and composition.
However, it’s also one of the most rewarding forms of underwater photography. Once you develop the technique, it opens up an entirely new way of seeing and shooting underwater.
What camera is best for underwater macro photography?
There’s no single “best” camera—it depends on your experience level and how you like to dive.
Compact cameras are excellent for beginners and travel, while mirrorless and full-frame systems offer more control and image quality. What matters most is choosing a system you’re comfortable using in the water, rather than simply the most advanced option available.
Do I need a wet macro lens?
You don’t need one—but it’s one of the most impactful upgrades you can make.
Wet macro lenses (or diopters) allow you to increase magnification beyond what your primary lens can achieve, making it possible to photograph extremely small subjects like pygmy seahorses or tiny shrimp. They also give you flexibility, as you can add or remove them during a dive depending on what you find.